How to register a Provider account
This page explains how to create a new Provider account in the Event Locator.
1. Get an invitation
Typically, a Provider is invited to use the Event Locator by an Administrator. The invitation email includes a URL to the site registration page (developers: localhost:8000/register.html). A link can also be found from the Login page.
2. Complete registration form
The registration form helps Administrators understand who is registering and on behalf of what organization:
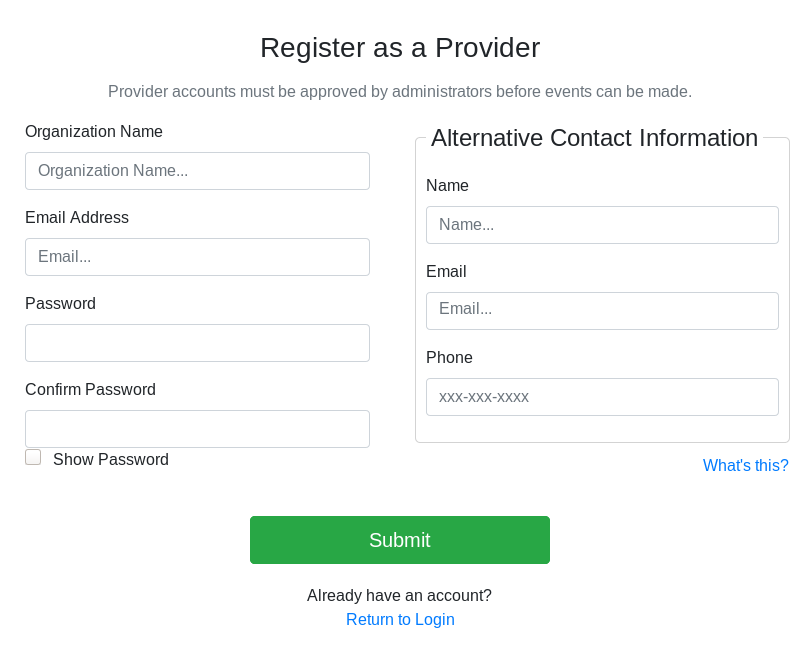 Screenshot of registration form, taken on 2019 Nov. 17
- Information about you:
- Organization Name: organization/entity/program that Provider is associated with
- Email Address: Provider’s email address, used for login
- Information about your organization contact:
- Name: Name of someone an Administrator may contact in your organization
- Email: Email address of that contact
- Phone: Best phone number for that contact
Complete the requested information and click Submit. Your request to register an account was received.
3. Wait for Administrator approval
Because registration is public and an invitation is not required to register, all new accounts must be approved by Administrators. New accounts are reviewed by an Administrator before they are activated (admins: see “How to review Provider account registrations”) Once an Administrator reviews an account, a status change notification is sent to the Provider’s email address.
4. Log in
Once your account is activated, you can log in. Use the Login button in the top-right corner to log into the Event Locator. Once you enter your credentials, you are redirected to the Provider Portal.